Simple Product Shoot with 1 studio light and Adobe Photoshop
 |
| The set-up |
This simple process is more about using Photoshop to control your lighting rather than trying to adjust your lighting in the studio. It's not uncommon for me to adjust all the lighting for hours in the studio to get the perfect shot. But much of my time is spent controlling reflections and other issues. By simplifying the process and breaking it down to layers, you don't even need to be an expert at Photoshop to get great results. In fact, there is no editing of the photos in tutorial other than merging the layers and being selective of the intensity.
Before you start though, you need to have some understanding of what you're looking for in your image and break it down.
With a wine bottle for example, generally I want to have a nice looking reflection along the sides and lighting the label. There's several ways to do this in the studio, but what I might do is set up two 6 foot lighting panels on either sides of the bottle, an on axis light in the middle with a grid aimed at the label. Mostly simple set-up, but does require additional equipment and modifiers and no guarantee of it looking quite right.
 |
| Breaking down the image to three simple shots. |
 |
| Label shot on axis |
Next I bring all the images into photoshop in one file as layers. The order should be the darkest images below with the brightest on top. In my case I put the two side lit images below the label lit image.
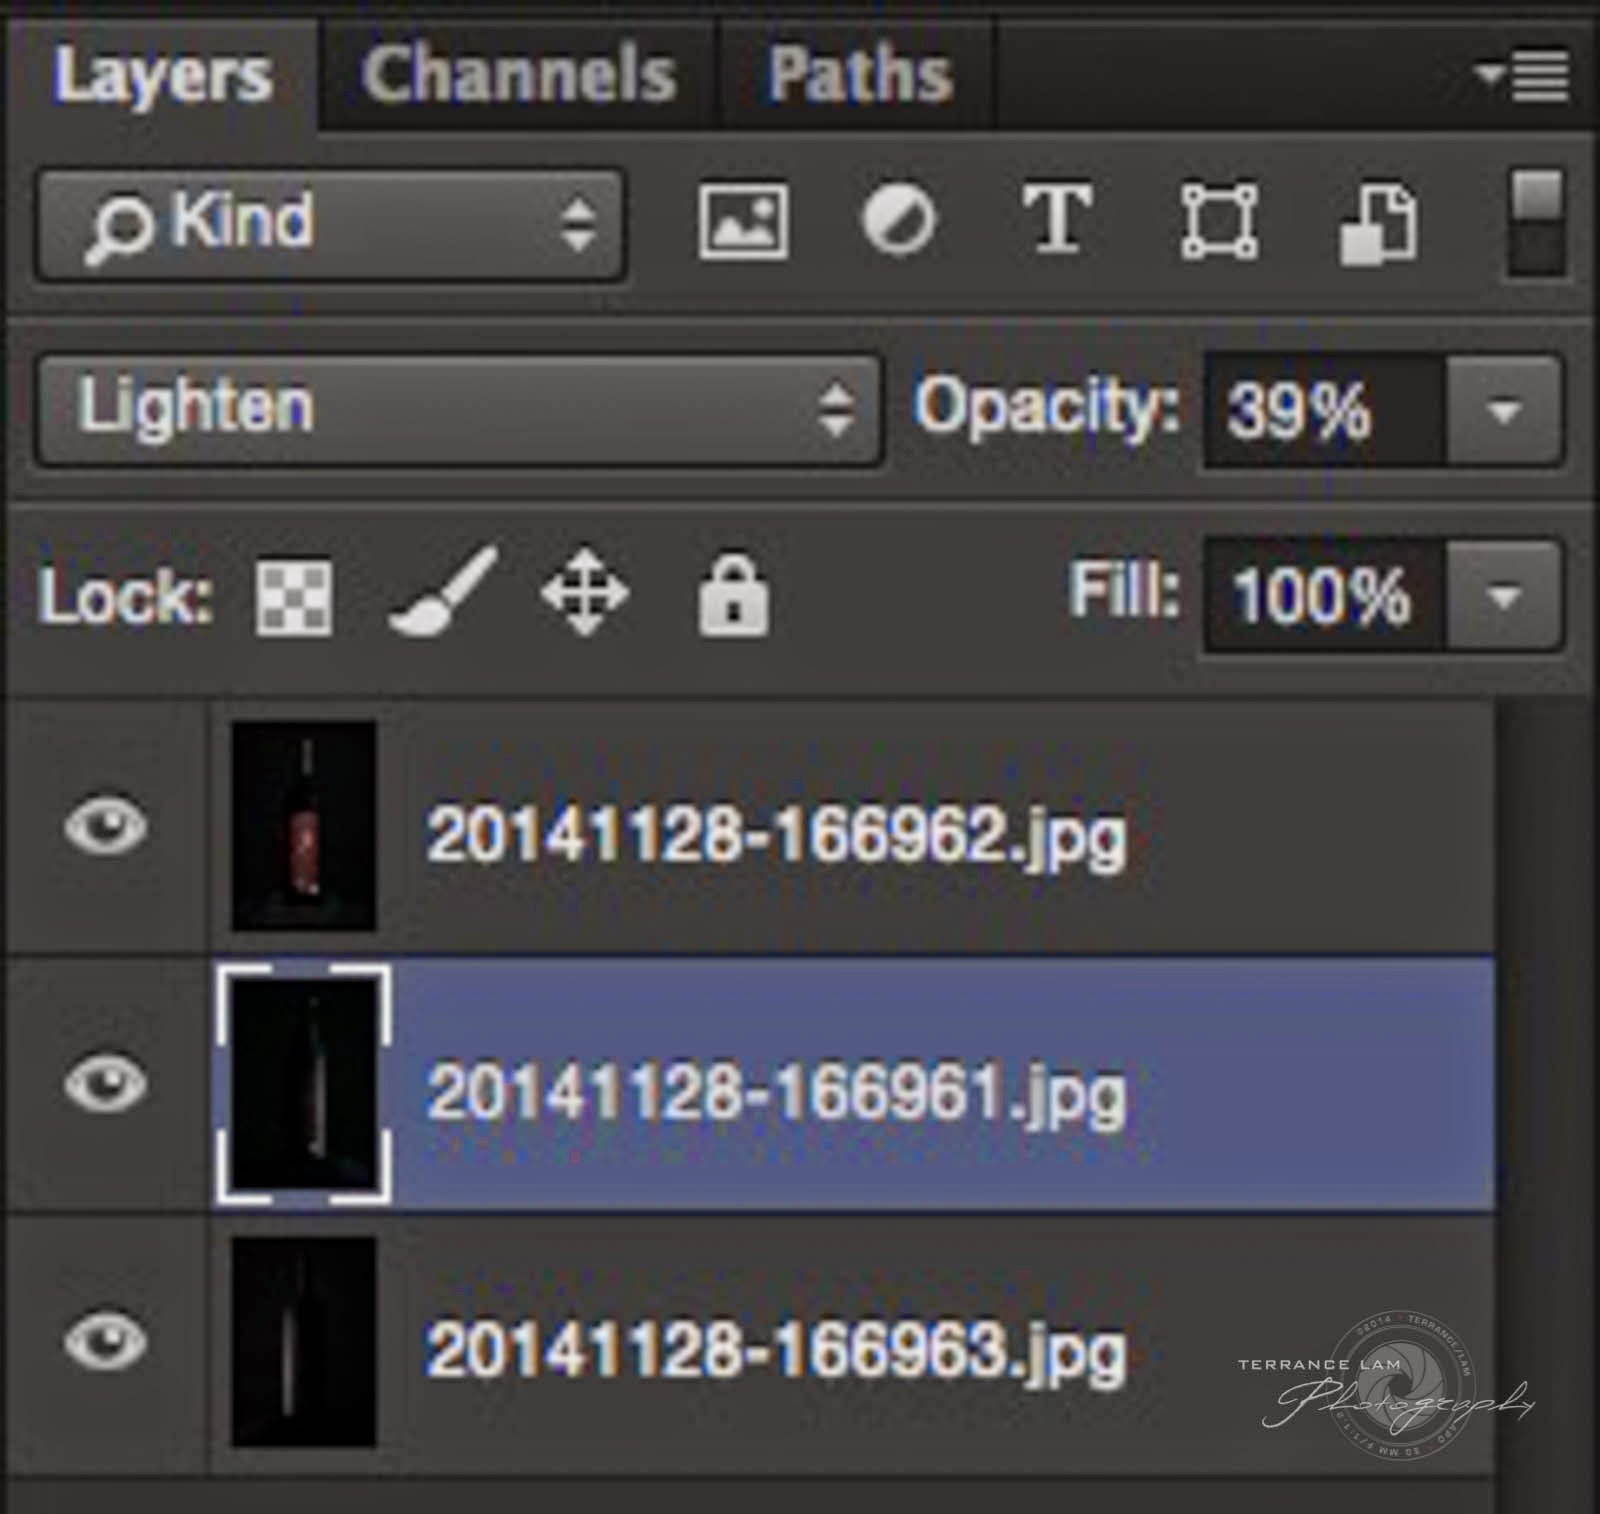 Under the layer's palette choose the layer and select lighten. This will allow the layers to blend with each other and appear that you lit the whole scene with multiple light sources. However if you have lighted everything with the same power of light, it may look a little unnatural. You'll need to balance that with some creative choices and make adjustments in the opacity slider to give it an asymmetrical lighting appearance.
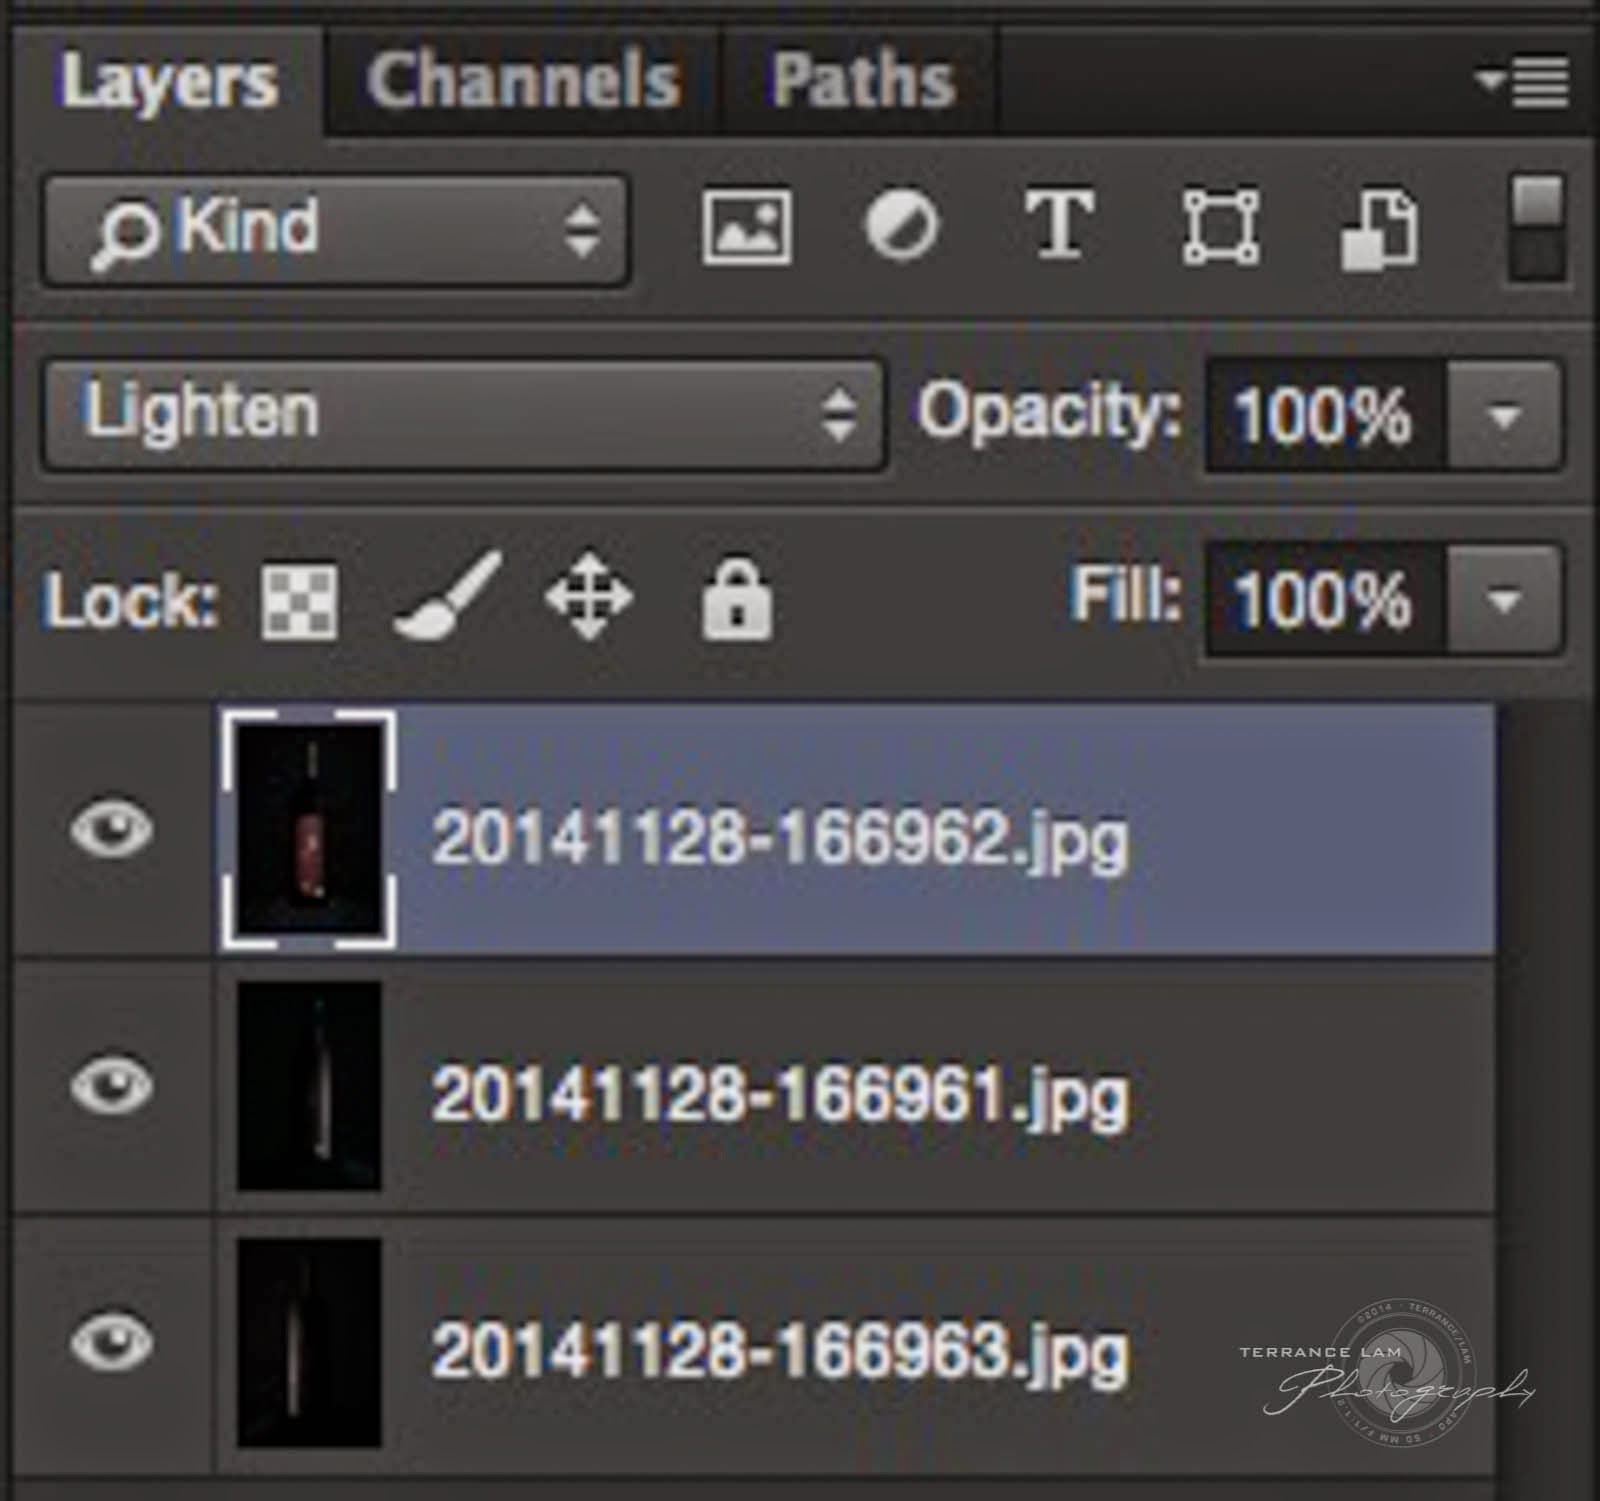 In my case I reduced the middle layer (or the right hand lit image) to around 40%.
The next step for me is to make the label look like it was spotlit to draw the eye into the image and bring some central attention to the important label. The image I initially took was very bright, but very even. This was easily solved by introducing a masking channel.

I also wanted to have a little bit of light show up at the top of the bottle. I liked the little bit of light in the middle, so I also used the gradient tool to paint that back in.
Lastly but not least, as in all products that are reflective, you'll have some undesired reflection. Using the masking channel and a small brush, I painted out the reflections I didn't want in my image.
 |
| Final Result |
I should point out that my studio is very bright because of an overhead skylight if you saw in the set-up shot. So I did use an ND filter on my lens to kill ambient lighting and all the lighting was controlled by the single strobe. In my situation, I was using my Quadra Ranger, but any studio light or flash can be used for this set-up.


Thanks for the write up. Never thought about using just one light to make it look like three or more. Very insightful.
ReplyDeleteThis also works with so many other static subjects. I also use this for interior shoots.
Delete