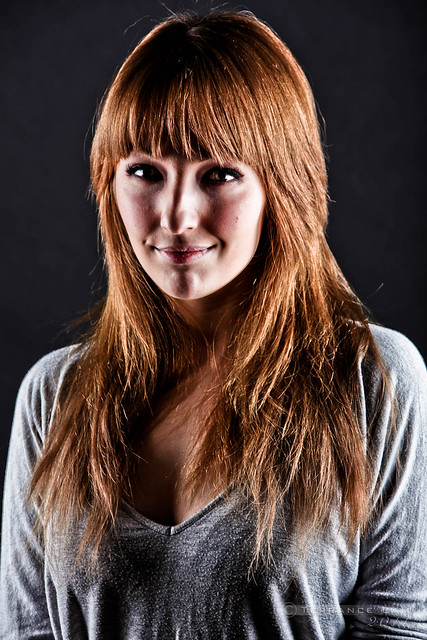
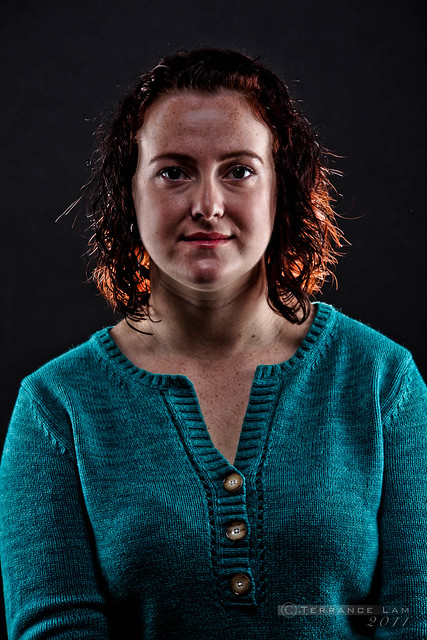
Dramatic Portrait Lighting
 In today's studio session I showed my students how to do a dramatic 4 studio light set up. 3 softboxes, and one diffused hair light. These were all done with Elinchrome lights and remotely triggered.
Two softboxes left and right are the same power and one above at about 1 stop more in a softbox, angled at around 45 degrees. A fourth diffused hair light is a 2 stop lower than the overhead sitting directly behind my subjects.
They got an idea of how much time it takes to set it up, but well worth the results. Many of the shots the students took were just spectacular.
Processing is done in Adobe Lightroom, but can be done in Adobe Camera RAW (ACR) with similar settings:
First adjust the exposure down by -.45 then bump the recovery up to around 80 to 100, then add just a little fill light at around 30-40. Increase the black point if necessary for darker deeper shadows. Bump contrast up by +70-80.
Clarity should be turned way up, around +70-80. Vibrancy goes up by +40 and Saturation goes down by -50.
Next is to adjust the Tone Curves. Highlight +50, Lights +22, Darks +41 and Shadows -32 in this case.
Lastly, use the Adjustment Brush and select skin softener. Paint the skin and crank the clarity down even further to counter the global clarity that has been applied to the image.
That's pretty much it. You might need to do the odd tweak here or there to get the effect just right.


Comments
Post a Comment