5Dmk3 Multi-Exposure - Part 1 Additive
Traditionally there are two methods by which you can do this by. The first method is pretty standard where you set your camera up in bulb mode and just do a very long exposure. Something like this should typically take at least a half an hour. The problem with doing very long exposures is the introduction of hot pixel noise. This happens when doing these lengths of exposures and for some pixels, they reach saturation before other pixels do. Think of this as an array of cups in the rain. Most cups will fill pretty evenly, but occasionally you'll get the odd cup that fills much faster than another. Because of this, it creates undesirable hot pixels throughout your images past a certain time.
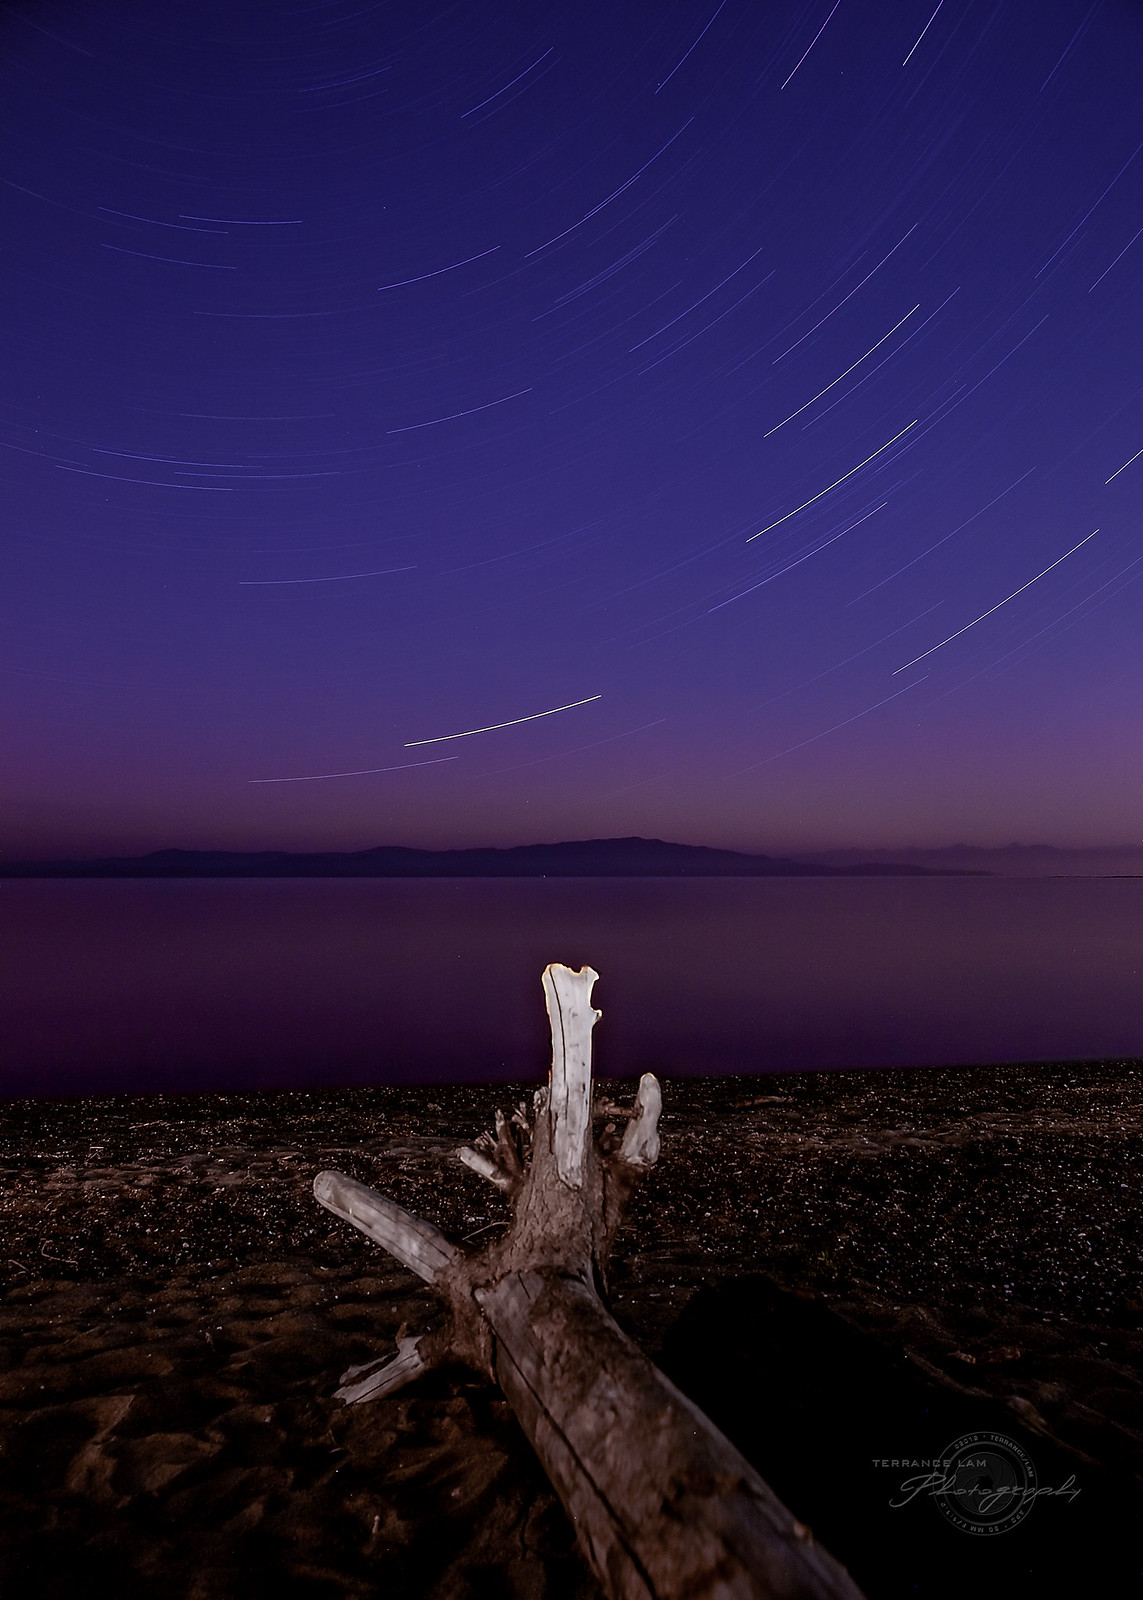
I'm not certain of when the optimal time is with the 5Dmk3, but most people I know who do this kind of exposure generally avoid going beyond 10 minutes, and to be on the safe side most will usually stick to 4-5 minutes. Here's where the second method is chosen over the first. By taking multiple exposures at 4-5 minutes using an intervalometer trigger remote, the multiple images are later combined to create a single image like the example above. The biggest advantage of doing this is reducing the amount of hot pixel noise however you do need something like Photoshop or some other stacking software to recombine the images later.
 So now we have multi-exposure mode for the 5Dmk3. The idea behind this feature is to bring back a once popular feature of exposing a single frame multiple times for very creative effects. It fell out of favour over the years as software replicated the ability to do this. Why Canon brought it back is a bit of a curiosity, but for me I'm finding lots of new ways to exploit the feature in perhaps different ways than what it was intended for. By using the multi-exposure settings I chose to use the Additive function of the multi-exposure mode.
There are four different modes in the multi-exposure settings. The first is the additive mode which I used for my star trail image, and the others are average, bright, & dark. Each of the modes are different ways the 5Dmk3 stacks the multiple images together. For the most part, this really just takes out the need to take that extra step of using Photoshop, or for some of those people out there who do not have it, have the ability to stack images together.
Here's a brief description of what each of the 4 different modes offer:
Additive: This settings is used for multiple exposures without regards to each exposure. This means that bright areas overlaying other bright areas will become brighter. This mode generally should be underexposed to avoid overexposure.
Average: This setting is used for multiple exposures that have no camera movement (or little movement). It will average the exposures together creating an optimal exposures without blown highlights. On a tripod, this would be very effective in showing movement like a runner.
Bright (comparative): This settings is ideal for night scenes and is like a combination of Additive and Average. Great for compositing scenes like a moon and a cityscape. If bright areas overlap, then it does not overexpose those areas as it does in Additive. This option could have also been used in this very long exposure image.
 Dark (comparative): Is the opposite of bright. it ignores the bright parts of the scene and combines only the dark areas. This is particularly useful for combining interesting silhouette examples.
In my case I used Additive and could have optioned to use Bright as an option as well. The reason to use Bright would be to avoid overexposure of my foreground. I did several tests shots before I did the Additive solution and found that there was little difference in the two modes in this case. but I chose to use Additive in this case.
One of the other settings I chose to do was to set up for individual function control (On:Func/Ctrl) of each exposure rather than just set my intervalometer to take a new shot every predetermined time. I did this specifically so I could see the exposure and how it was unfolding. This isn't something that is necessary to do, but in this case it acts like a Live bulb feature where you can see your exposure reveal itself. Because I was using Additive I was concerned that my foreground elements would get too bright, but by controlling each of the exposures I'm able to see how the additive process was working and to decide if I had enough. In my case I only used 7 of the 9 available exposures that I could take in this shot (approximately an hour). I only needed a couple of seconds to make a decision which did not break up the trails and I was able to continue on.
With that said, it should be pointed out that the multi-exposure mode does build between frames, and thus it shows a preview overlay of your previous exposures. This makes it much easier to do creative things with it. In terms of static shooting on a tripod it allows me the ability to watch the exposure as it unfolds and for me to make arbitrary decisions on stopping it. In the case of long exposures like this, it eliminates the need for guessing, and also eliminates the need to do more software manipulation on the computer.


Excellent article KD! I'm myself trying to see ways of using this feature of the 5D MK3. In particular I'm interested in finding out if it can help with the handling of big dynamic range, for landscape images. The bright setting could in theory be useful for this but I need to experiment myself and see what results I get.
ReplyDeleteThanks a lot for your always informative and knowledgeable articles.