Super Detail with FujiFilm X-Pro1 RAF files and 1/2 pixel Median Filtering
This is my follow up from my original article: http://frontallobbings.blogspot.ca/2012/09/squeezing-maximum-out-of-fujifilm-x-pro1.html
If you're not familiar with the unconventional filter that is used by the FujiFilm X-Pro1, then I recommend this read first: http://www.fujifilm.eu/uk/products/digital-cameras/pro-enthusiast/model/x-pro1/features/fujifilm-x-trans-sensor-technology/
So after playing with this for weeks, I believe this is probably the maximum that we can get out of the Fuji RAF files until the other developers come up with better understanding of the unique X-Trans CMOS sensor
Now this is still not the most ideal workflow for most people. Pixel Peeping aside, the Fuji X files are fantastic, even in Adobe Lightroom. My goal in this was to get a better understanding of what is going on. I wish I knew how to program, because I'd love to create a simpler way to do this. If there's anyone out there that is interested in taking what I've done and turning into a nice little drag and drop application, I think you'd get a lot of fans.
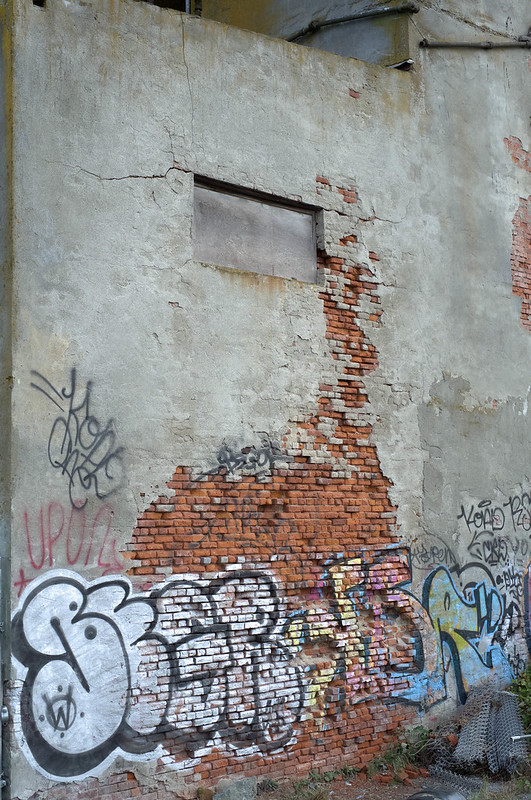
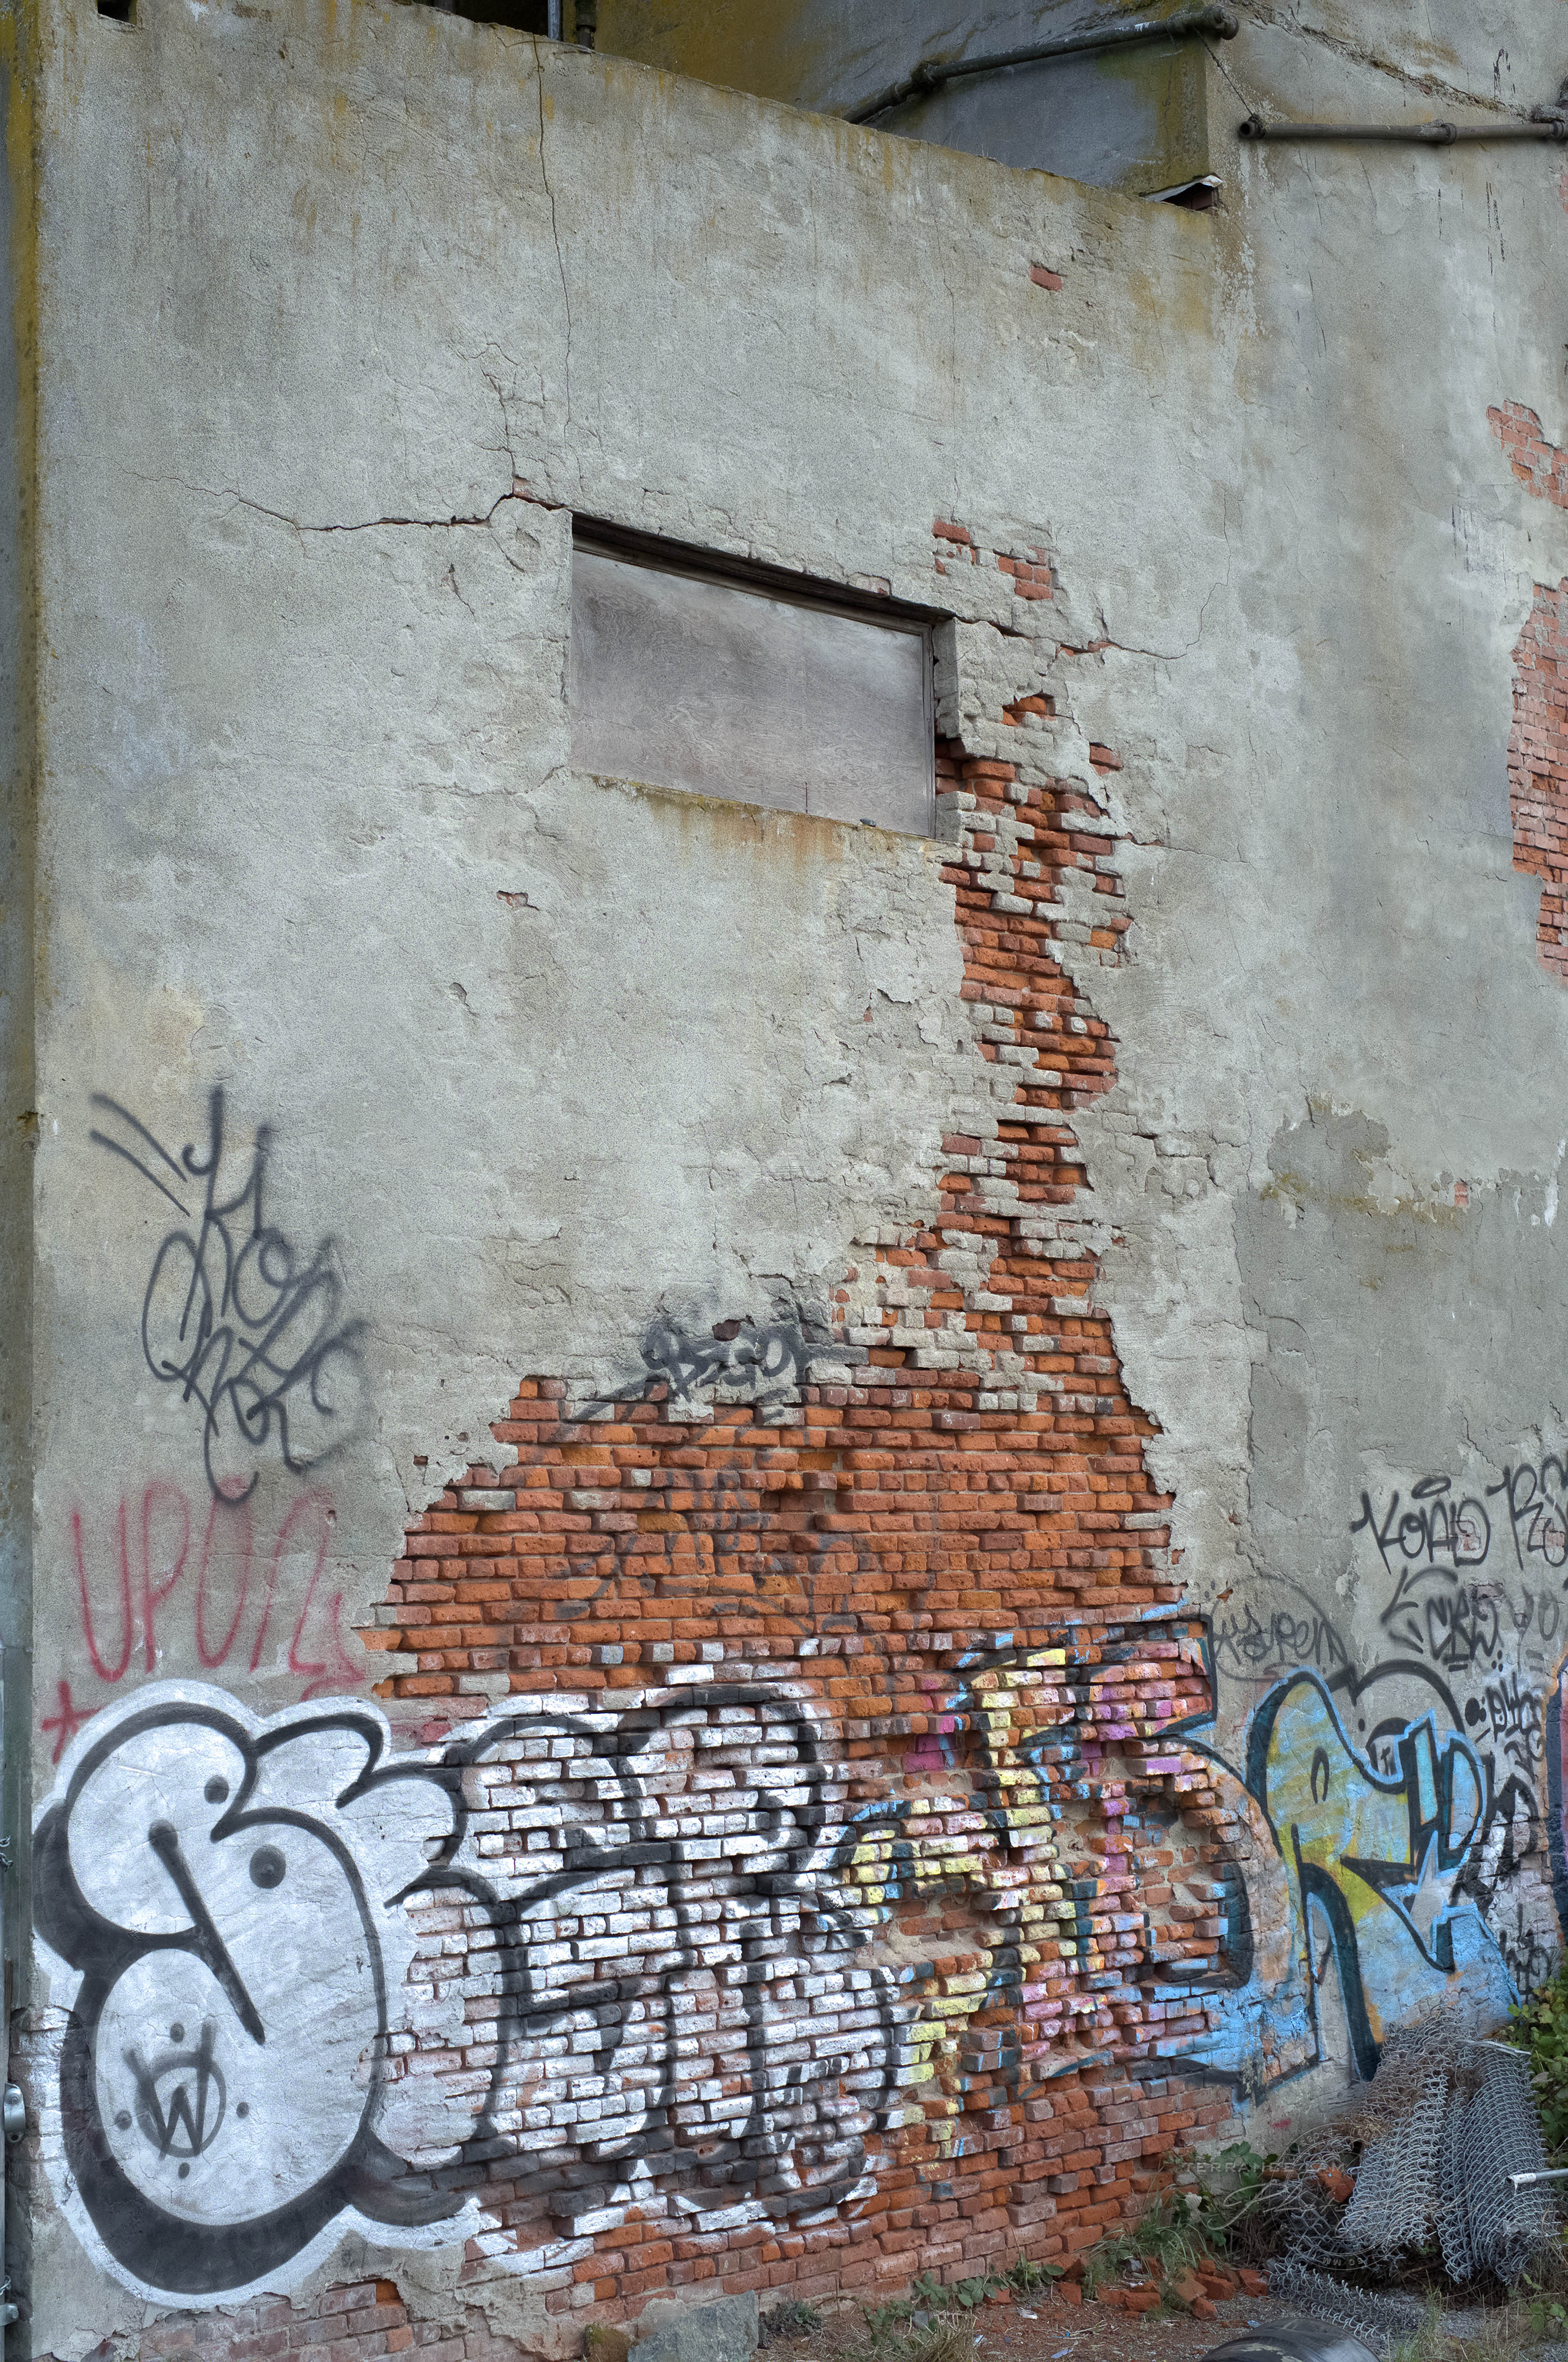
Original
The Process
1. Using command line DCRAW: dcraw -a -H 0 -o 4 -q 1 -f -m 15 -g 2.4 12.9 -6 -T
2. Convert TIFF file to LAB file in Photoshop
3. Resize image 200% with Bicubic Smoother
4, Select Lightness Channel under channel panel.
5. Select Median filter under Noise in Filter. Select 1 pixel
6. Resize image 50% with Bicubic Sharper (Nearest Neighbour is actually a more subtle effect which I kind of prefer)
7. Save.
Notes During my experimentation I uncovered a better understanding of what is going wrong with the RAW processing of the files and some assertions and speculations I can make.
SilkyPix and RPP both process very similar files and although I know for certain that RPP uses DCRAW, SilkyPix I believe is a proprietary RAW engine. What I do speculate is the chroma smearing is a result of interpolation errors. Much of it can be suppressed with chroma noise reduction without loss of image quality. However one of the big nagging issues was this 'zipper' aliasing that was happening. After analyzing the files, it seems specifically the red sub-pixels are causing much of this zipper effect, but also part of the interpolation issues. I was able to get rid of a good portion of the chroma smearing by doing 3x3 multi-pass median filtering through DCRAW.
In terms of Adobe Camera RAW, their approach is much different than the other two. Their interpolation algorithms are based on some sort of bilinear approach. This results in no zipper or aliasing artifacts and less chroma smearing, but it creates the dreaded watercolour effect when sharpened and a significant loss of detail. I was able to recreate this by doing a bilinear interpolation in DCRAW with the RAF files and then do a median filtering on it. Sadly, unless Adobe reengineers their RAW processing engine, I do not think we'll see a better version for some time from them. It means I don't recommend using Adobe Camera RAW to process the files if your'e hoping for maximum details.
What the DCRAW?
DCRAW is a command line raw processor that RPP and many others use. Great for those who are comfortable with command line prompt editing, but not for the faint of heart. It requires some installation know how and in my case I had to compile the DCRAW 9.16 for my computer to work properly. Installing the binaries into local/bin was the next step and then the rest is above.
An explanation of the DCRAW commands that I mentioned:dcraw -a -H 0 -o 4 -q 2 -f -m 15 -g 2.4 12.9 -6 -T
-a specifies WB calculation, you can also use -w
-H 0 clips all highlights to solid white (default), You can use -H 2 but will need to correct for it afterwards.
-o 4 saves it in ProPhoto RGB
-q 1 is VNG Interpolation, I found this worked best
-f Interpolates RGB as four colours and eliminates some artifacts in the interpolation
-m 15 is the median filter passes. I found 15 was the minimum that was needed to remove the most amount of chroma smearing. 10 works well too for faster processing, and 20 is just unnecessary as there were no benefits there.
g 2.4 12.9 is the gamma settings I chose. I found this worked best for me
-6 writes the file as 16 bits per colour
-T writes the file as a TIFF
Why 1/2 pixel Median Filtering?
DCRAW clearly produces the best results, but has zipper aliasing issues. This is very apparent in RPP produced files. There are no settings that I can find in that program to combat this, so in using the same processing engine, my approach also enabled DCRAW to do a 3x3 Median filter to the R-G and B-G channels. But it doesn't rid all the issues. By using Photoshop, converting the file to a LAB based TIFF, I then used Median filtering in photoshop to rid of the zippered effects only in the Lightness channel. However you can't do 1/2 pixels in Photoshop. Initially I tried to do this with 1 pixel, but it lost a significant amount of details in textures. I decided to resize the image by a factor of 2, apply the 1 pixel Median filter, then resize it back down to the original size. This got rid of the aliasing artifacts that result in DCRAW or RPP produced images.
Have I gone blind yet?
Probably! Pixel peeping is a sickness, however my goal wasn't just to squeak every detail out of the files. It was more to prove that claim that FujiFilm says that this rivals full frame cameras at a much lower pixel count and no antialiasing filter. I would agree in principal about this especially after my exercise.
If you process your files this way, I have no doubt in my mind that you could print or resolve a file just as well as a 36MP Bayer Mosaic based sensor. Because of the nature of a 2x2 pattern of those cameras, even without anti-aliasing filters, resolution will be lost when you need to deal with aliasing issues. This isn't exclusive to moire problems. A median filter has to be applied or the image looks too digital.
Lastly, if you read this far, thank you and sorry if your'e still scratching your head trying to understand what has been said here. I welcome other thoughts to my experimentation, and always welcome feedback to my efforts.
If you're not familiar with the unconventional filter that is used by the FujiFilm X-Pro1, then I recommend this read first: http://www.fujifilm.eu/uk/products/digital-cameras/pro-enthusiast/model/x-pro1/features/fujifilm-x-trans-sensor-technology/
So after playing with this for weeks, I believe this is probably the maximum that we can get out of the Fuji RAF files until the other developers come up with better understanding of the unique X-Trans CMOS sensor
Now this is still not the most ideal workflow for most people. Pixel Peeping aside, the Fuji X files are fantastic, even in Adobe Lightroom. My goal in this was to get a better understanding of what is going on. I wish I knew how to program, because I'd love to create a simpler way to do this. If there's anyone out there that is interested in taking what I've done and turning into a nice little drag and drop application, I think you'd get a lot of fans.
Original
The Process
1. Using command line DCRAW: dcraw -a -H 0 -o 4 -q 1 -f -m 15 -g 2.4 12.9 -6 -T
2. Convert TIFF file to LAB file in Photoshop
3. Resize image 200% with Bicubic Smoother
4, Select Lightness Channel under channel panel.
5. Select Median filter under Noise in Filter. Select 1 pixel
6. Resize image 50% with Bicubic Sharper (Nearest Neighbour is actually a more subtle effect which I kind of prefer)
7. Save.
Notes During my experimentation I uncovered a better understanding of what is going wrong with the RAW processing of the files and some assertions and speculations I can make.
SilkyPix and RPP both process very similar files and although I know for certain that RPP uses DCRAW, SilkyPix I believe is a proprietary RAW engine. What I do speculate is the chroma smearing is a result of interpolation errors. Much of it can be suppressed with chroma noise reduction without loss of image quality. However one of the big nagging issues was this 'zipper' aliasing that was happening. After analyzing the files, it seems specifically the red sub-pixels are causing much of this zipper effect, but also part of the interpolation issues. I was able to get rid of a good portion of the chroma smearing by doing 3x3 multi-pass median filtering through DCRAW.
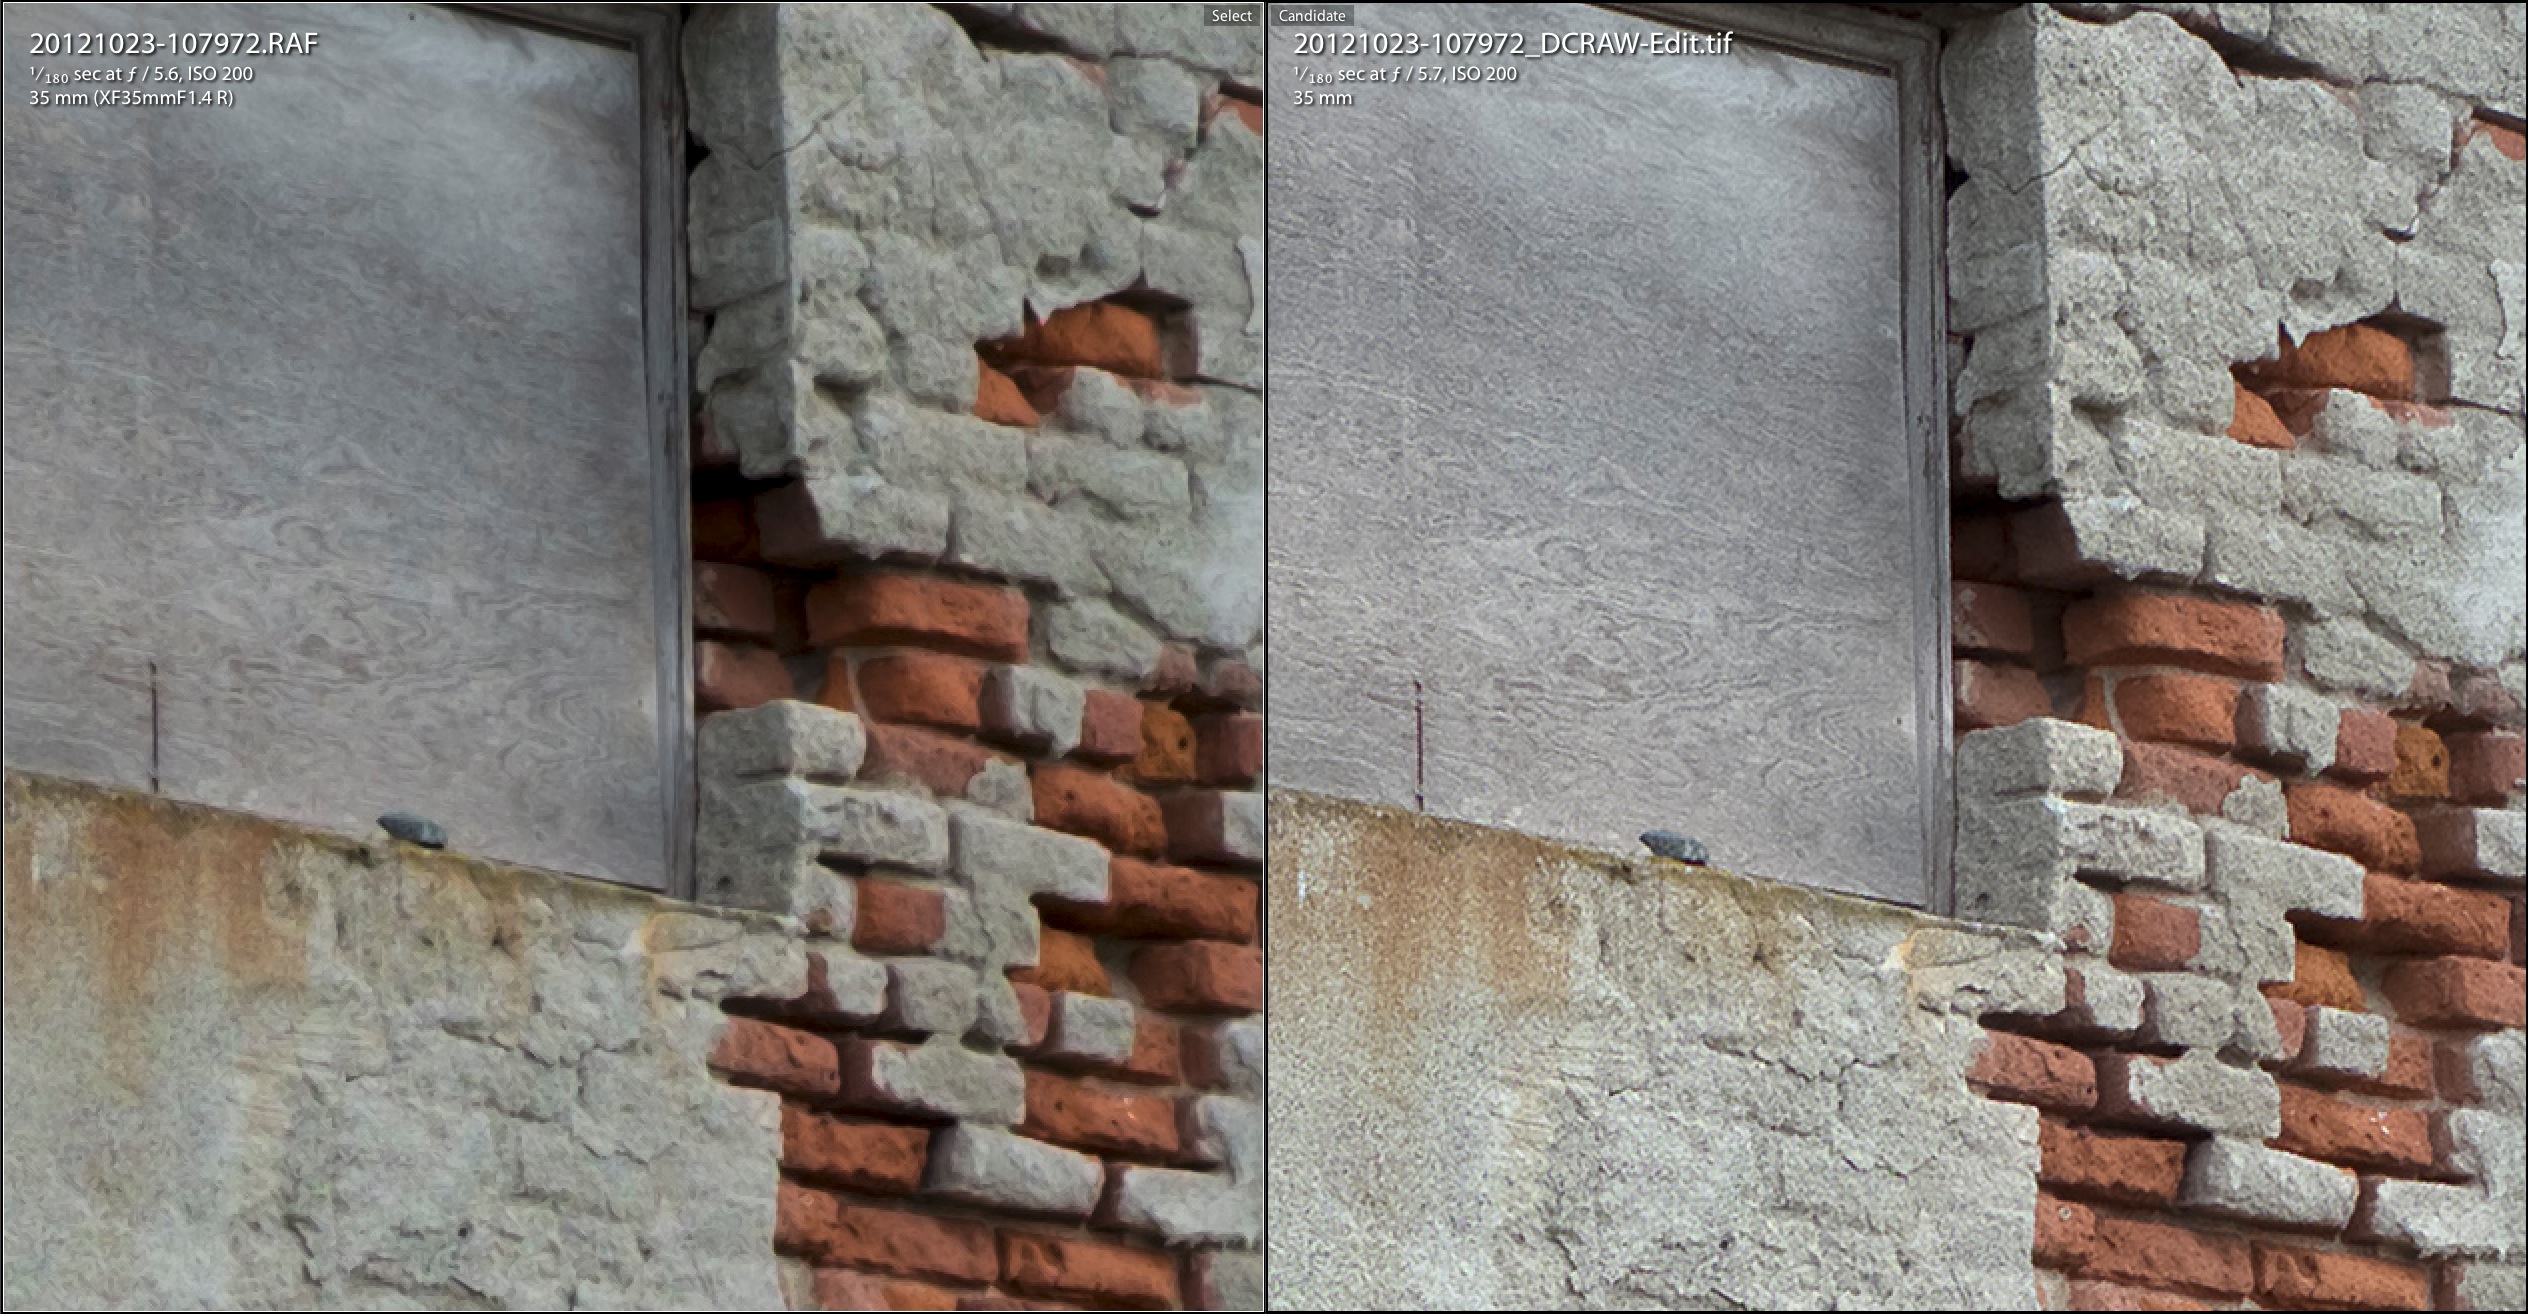 |
| ACR vs my custom approach. Click on the image to see the differences. |
What the DCRAW?
DCRAW is a command line raw processor that RPP and many others use. Great for those who are comfortable with command line prompt editing, but not for the faint of heart. It requires some installation know how and in my case I had to compile the DCRAW 9.16 for my computer to work properly. Installing the binaries into local/bin was the next step and then the rest is above.
An explanation of the DCRAW commands that I mentioned:dcraw -a -H 0 -o 4 -q 2 -f -m 15 -g 2.4 12.9 -6 -T
-a specifies WB calculation, you can also use -w
-H 0 clips all highlights to solid white (default), You can use -H 2 but will need to correct for it afterwards.
-o 4 saves it in ProPhoto RGB
-q 1 is VNG Interpolation, I found this worked best
-f Interpolates RGB as four colours and eliminates some artifacts in the interpolation
-m 15 is the median filter passes. I found 15 was the minimum that was needed to remove the most amount of chroma smearing. 10 works well too for faster processing, and 20 is just unnecessary as there were no benefits there.
g 2.4 12.9 is the gamma settings I chose. I found this worked best for me
-6 writes the file as 16 bits per colour
-T writes the file as a TIFF
Why 1/2 pixel Median Filtering?
DCRAW clearly produces the best results, but has zipper aliasing issues. This is very apparent in RPP produced files. There are no settings that I can find in that program to combat this, so in using the same processing engine, my approach also enabled DCRAW to do a 3x3 Median filter to the R-G and B-G channels. But it doesn't rid all the issues. By using Photoshop, converting the file to a LAB based TIFF, I then used Median filtering in photoshop to rid of the zippered effects only in the Lightness channel. However you can't do 1/2 pixels in Photoshop. Initially I tried to do this with 1 pixel, but it lost a significant amount of details in textures. I decided to resize the image by a factor of 2, apply the 1 pixel Median filter, then resize it back down to the original size. This got rid of the aliasing artifacts that result in DCRAW or RPP produced images.
Have I gone blind yet?
Probably! Pixel peeping is a sickness, however my goal wasn't just to squeak every detail out of the files. It was more to prove that claim that FujiFilm says that this rivals full frame cameras at a much lower pixel count and no antialiasing filter. I would agree in principal about this especially after my exercise.
If you process your files this way, I have no doubt in my mind that you could print or resolve a file just as well as a 36MP Bayer Mosaic based sensor. Because of the nature of a 2x2 pattern of those cameras, even without anti-aliasing filters, resolution will be lost when you need to deal with aliasing issues. This isn't exclusive to moire problems. A median filter has to be applied or the image looks too digital.
Lastly, if you read this far, thank you and sorry if your'e still scratching your head trying to understand what has been said here. I welcome other thoughts to my experimentation, and always welcome feedback to my efforts.
I didn't mention this initially in this article, but if you're on a Macintosh environment this process is made simplier by downloading this fantastic front end called RAWker raifra.fh-friedberg.de/Mac/index-en.html
I've set it up in the application preferences to do a 15 pass median filter on all images that come in there. RAWker is a great substitute for those on Macintosh that doesn't want to use command line and requires only the installation of the program.


My Brain hurts!!!! - @alsmith
ReplyDeleteI figured it would... wait, don'y you run a tech company LOL.
Deletewhen will it support the XE-1??
DeleteDCRAW just needs to be updated to accept it, but I don't think it's hard to do that when I looked at the source code.
DeleteThe side-by-side example clearly shows improvement. That's about all I got from this.
ReplyDeleteConclusion: if you could do this with such a simple command, then software ought to be able to do it too. :-)
As technical as this whole article souded, it really is just what you say.... I'm hopeful something will show that improvement. Silkpix's latest update already shows big imrprovement.
DeleteIs it possible to show the X RAW file issue with just a (say) 16x16 pixel image? On the brickwork in your side-by-side images there's a clear example of chroma bleeding on the left image that is avoided in the right image, but I'm interested to see what causes the problem to occur in the first place. I'm sure the issues are obvious to people like you that have delved into the raw files but to a noob computer scientist like me I'm not sure where the fundamental issue is - I'm guessing it's all about interpolating the monochromatic pixels to produce an uncompressed image with interpolated full color data at each pixel. Why is that so hard?
ReplyDeleteBeen real busy Eddy. Sorry I haven't been able to answer your message sooner plus I've been under the weather.
DeleteThe problem is the pattern that that is created from the monochromatic RAW files. Being:
GBGGRG First line has four green
RGRBGB Second line has two reds and two blues, offset and asymmetrical
GBGGRG Repat of first line
GRGGBG New sequence swapping Red and Blue from first line
BGBRGR Like the second line has the reds and blues swapping
GRGGBG Repeat of fourth line.
So the trick would be to create an algorithm that first does a decent job of interpolating that, but secondly, the unique 'random' pattern that is special to the X-Trans filter.
oh my goodness. I think my brain just collapsed.
ReplyDeletehahah... yeah I know the feeling. Thanks for your comments!
DeleteGreat job, thanks a lot for your effort!
ReplyDeleteI've made a shell script to run in one go dcraw and an applescript to automatically run the 1/2 median filtering recipe using CS6. Let me know if you're interested in it and I'll mail it to you.
ReplyDelete-- Fons
Wonderful.... you should share it with everyone if you don't mind.
DeleteHi Terrance,
ReplyDeletethe bash shell script and the applescript files can be obtained here:
ftp://root.cern.ch/pub/rdm/raf2tiff.sh
ftp://root.cern.ch/pub/rdm/process-raf.scpt
the raf2tiff.sh calls dcraw and then invokes the process-rat.scpt Applescript.
Let me know if you've problems or if you've improvements.
Cheers, Fons.
Hey,
ReplyDeletegreat work! I tried it and I like the results. However, the lens distortion correction gets lost on the way. When I load the TIF in lightroom it seems not to be recognized as a file that needs to be corrected and I see no way to manually trigger this correction. Any thoughts on (experience with) this problem?
Happy new year!
Christian
HI Christian. There's no easy way to do that. You can do manual distortion correction but profile correction cannot work once it's converted to TIFF.
DeleteThere are rumours out there that a new Lightroom RAW for the XPro1 is in the works, and Capture One is currently in Beta. There are several people reporting tests with it and the results are promising.
Is there a alternative to command line DCRAW? Is there windows 7 version that is easier to install and run?
ReplyDeleteHi Jeff. I really don't know of a great DCRAW non command line alternative for Windows. Not that there isn't one out there, I just don't know windows choices very well.
DeleteRegardless, download the trial of Capture One 7.0.2 and give that try. I was beta testing it for a while and using the release for some time now and been very happy with the results.
Hello, great protocole thank you very much. Is there a way to script in imagemagick the steps done in photoshop so without a point and click software we could use it as a shell script on many photographs.
ReplyDeletethank you very much in advance
Dear Terrance,
ReplyDeleteGreat post and great results. I was wondering if we could replace the photoshop commands with some imagemagick commands and include them into a script to use your process in a program that could be run on multiple images. I have posted this question on the imagemagick forum since I just start to use imagemagick , might be of interest before somebody writes a point and click software . In the meatime you might have encountered a solution in this direction. The quality of the images you obtain with this protocole is outstanding congratulations.
The post in the imagemagick forum goes like this :
http://www.imagemagick.org/discourse-server/viewtopic.php?f=1&t=23526
I have found a great article on developping raw files coming from a x-trans sensor (http://www.fujifilm.eu/uk/products/digital-cameras/pro-enthusiast/model/x-pro1/features/fujifilm-x-trans-sensor-technology/) camera (fuji x-pro1) written by Terrance Lam :
http://www.frontallobbings.com/2012/11/super-detail-with-fujifilm-x-pro1-raf.html
The idea is to use the dcraw program to develop the raw file into a 16 bits tiff and the use photoshop to do further processing of the images according to the following protocole :
The Process
1. Using command line DCRAW: dcraw -a -H 0 -o 4 -q 1 -f -m 15 -g 2.4 12.9 -6 -T
2. Convert TIFF file to LAB file in Photoshop
3. Resize image 200% with Bicubic Smoother
4, Select Lightness Channel under channel panel.
5. Select Median filter under Noise in Filter. Select 1 pixel
6. Resize image 50% with Bicubic Sharper (Nearest Neighbour is actually a more subtle effect which I kind of prefer)
7. Save.
Is there here a wizzard who could snap ;-) the photoshop command from 2 to 7 in the preceding process into imagemagick commands to put them in a bash script
Best regards, thanks in advance
djehem
I haven't tried imagemagick myself, but it should work just as well. There's nothing that I suggest that is exclusive to Photoshop.
DeleteWould love to see a point and click solution or even a drag and drop. Thanks for the link. I will watch that forum to see what other's suggest.
Hi,
ReplyDeletehave you tried new dcraw 9.19? It looks like the the issue with "zipper" effect is now addressed.
Thanks
I hadn't until you mentioned it. I wasn't aware of the new version. Huge improvements. It seems that DCRAW now with -q 1 and -q 2 now give single and three pass interpolation for X-Trans files specifically. Obviously a bunch of new coding just for this sensor.
DeleteI also compared it against the Adobe Camera RAW implementation of it and it's almost identical. No more zipper aliasing for sure, but a little loss in some details. It's part of the price to pay for removing that artifact unfortunately.
One more thing to add. I did a comparison of the new DCRAW against my formerly processed DCRAW with Median 1/2 filtering (as mentioned in the article above), and I say the older technique is still better. Very subtle difference, but there's a little bit of detail smearing, and the 'grain' of the older technique is far more organic in nature than the older technique.
DeleteAny more precipices for us who only got c- in math ?
ReplyDeleteLol, well this is more of a proof of concept than anything... the major RAW editors do a pretty good these days that renders this redundant now. Although it could be argued that this still does a slightly better job. The next nearest thing is Iridient Developer which has a free trial you can download and try.
DeleteDear Terrance, 2 years later, when released already Fujifilm X-E2, which RAW-editor would you recommend today? (I remind you there 14-bit RAW)
ReplyDeleteThese days I still recommend using Capture One. It has the least amount of artifacts and reasonable learning curve to edit. However it is more expensive than most of the editors out there, but PhaseOne has been very good about keeping the software up-to-date, so you're not paying for incremental revisions like Adobe's Lightroom.
Delete