FujiFilm Velvia 100 RVP Simulation
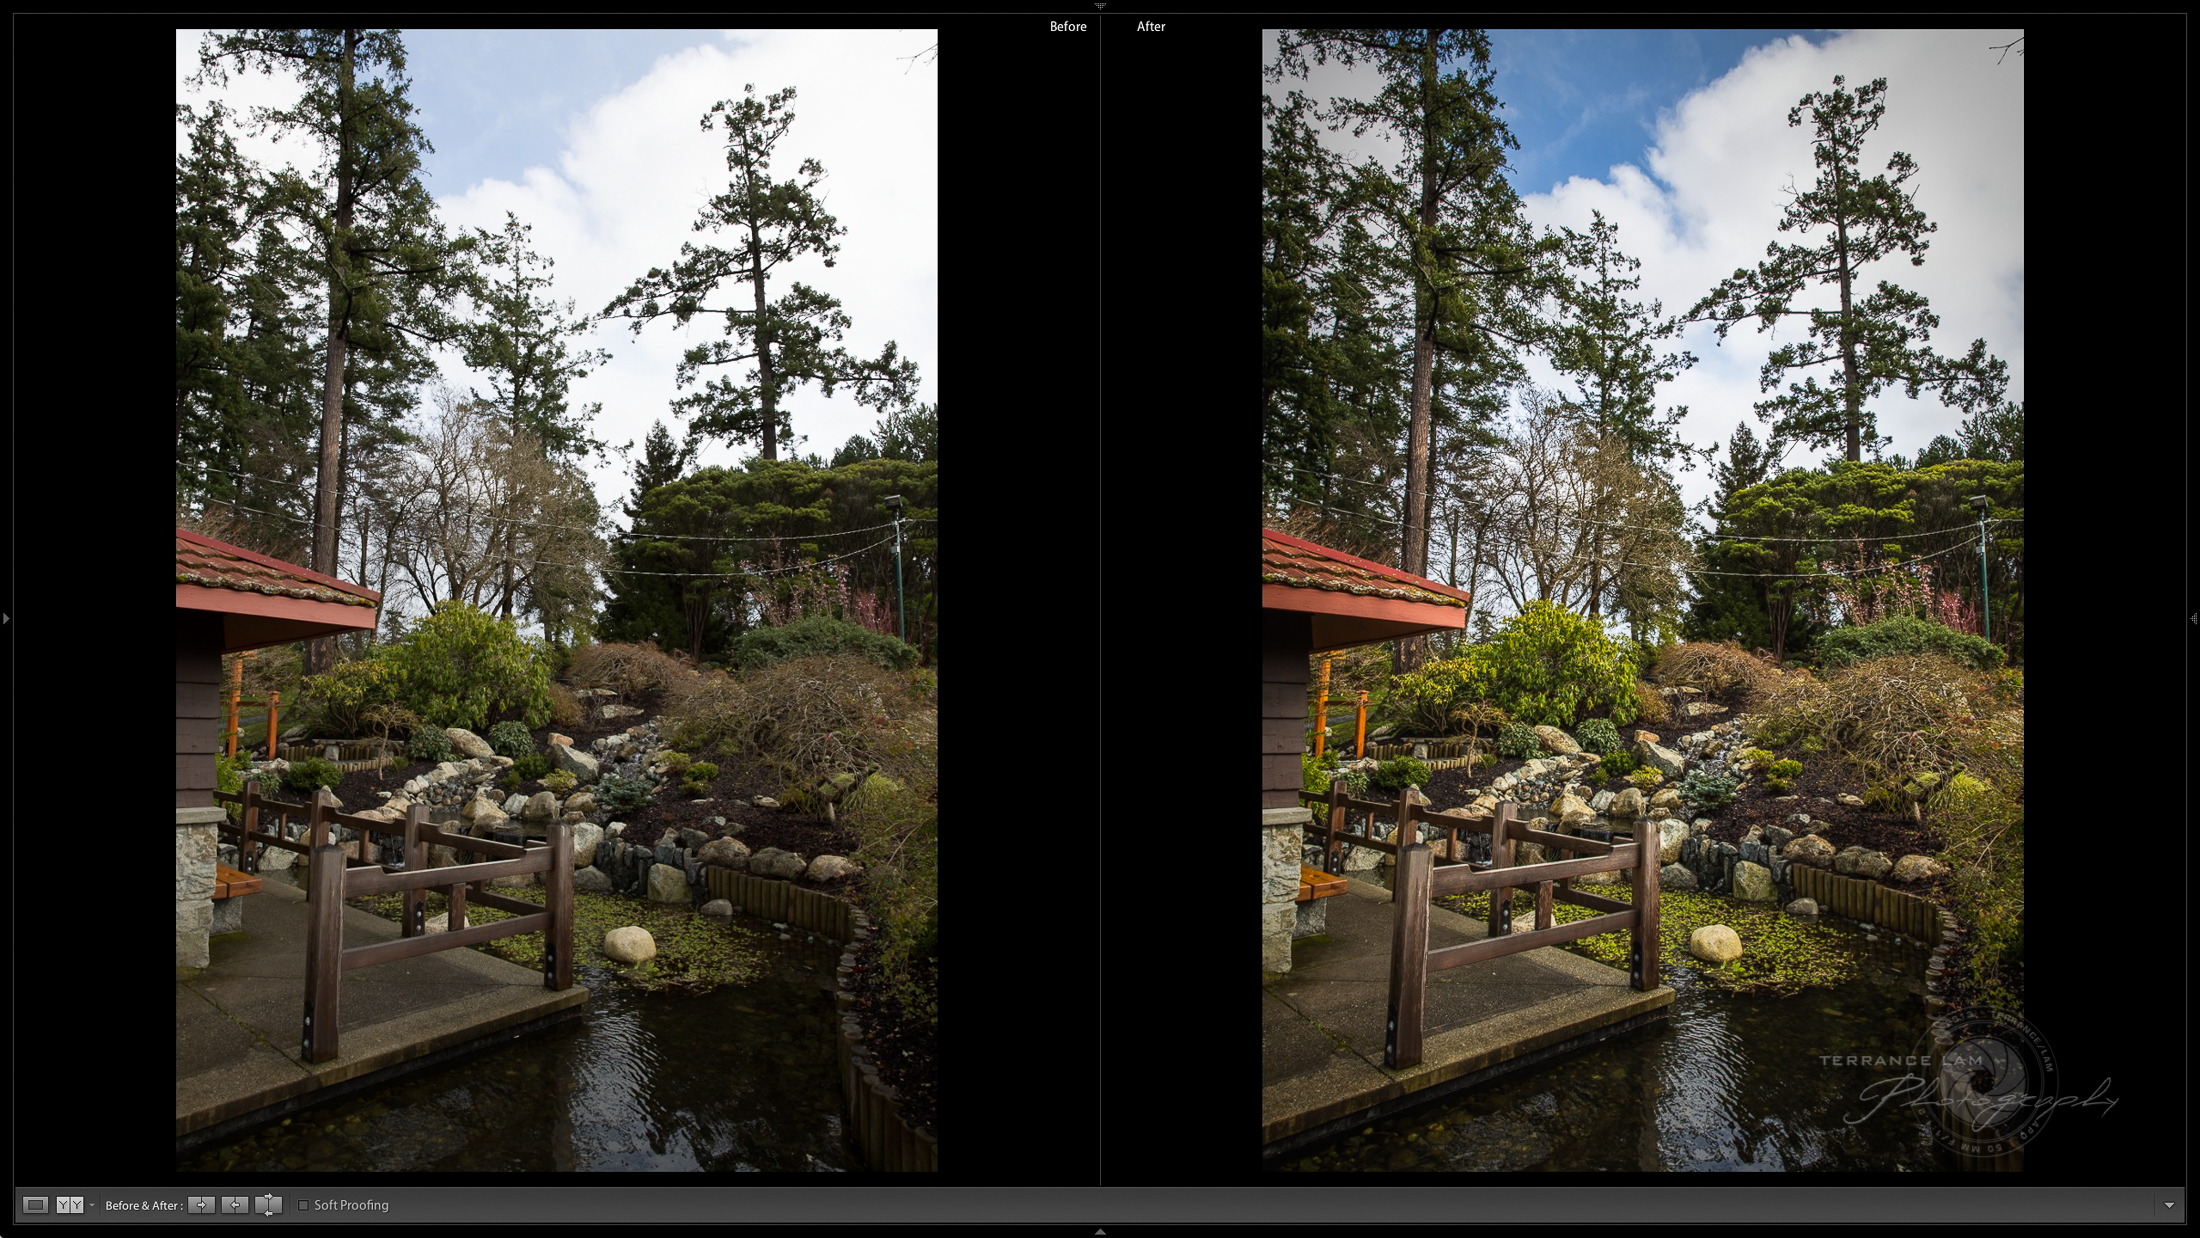 |
| Early version of my simulations. Started with simulating the dynamic range. |
In the past couple of weeks I've been using Capture One 7.02 to do some panachromatic film simulations which is really spectacular for doing that. I found that Lightroom, or at least at this time hasn't quite got there for me (yet), but I have been spending more time in Capture One for doing black and white conversions.
In Lightroom, I've been trying to simulate popular films, with some success.
I had been using 900+ colour reference charts, and comparing them to how others have done their presets and also how companies like FujiFilm has been trying to simulate them in their own cameras (such as the X-Pro1).
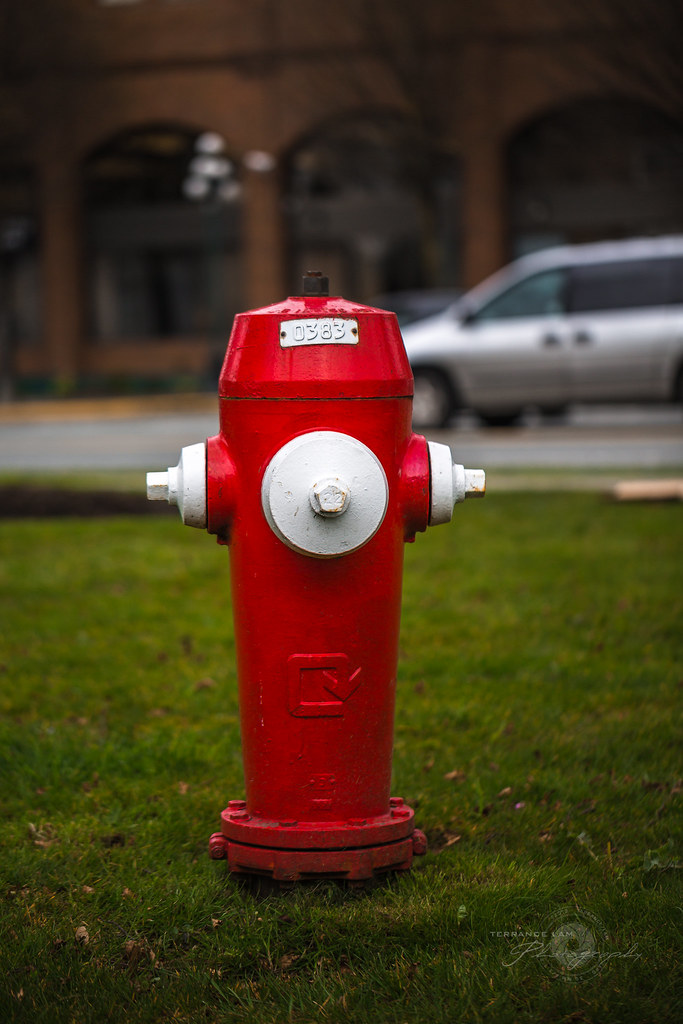 |
| Reds and Greens. Signature trademarks of FujiFilm Velvia RVP 100 |
Regardless, I decided to try to attack one film that few or none have tried to simulate, which is Velvia 100 Reversal Positive film or slide film. I'm a huge fan of the long retired Kodachrome 64 film which just has a character that's hard to copy (and some of the simulations I've seen out there come close but still not quite there).
I find that most people doing simulations are trying to copy something they are remembering from memory, fortunately for me, FujiFilm sent me a case of Velvia RVP 100 for free and I've been shooting hundreds of frames for the past couple of years. Paired with my own 20+ years of imaging, I decided to tackle this task again.
There's two known facts about FujiFilm Velvia. It's horrible for portraits, but awesome for landscapes. This is based on the fact that the formula for Velvia RVP makes it more sensitive to reds and greens, something that FujiFilms has always been famous for. In fact while I shot many landscape images with Kodachrome, I always knew it was much better suited for portrait photography (as made famous by Steve McCurray and his famous 'Afgan Girl'.
 |
| Pulling the dynamic range closer to film. |
 |
| Strong pinks, a signature of Velvia RVP 100 |
What makes film special is what it reproduces on paper or what our eyes can see. I've often heard (maybe too much) that digital cannot simulate what film produces. Part of that problem is that film actually doesn't hold back what it can show you (when looking at RVP on a light table, it just looks 3D for some reason). Digital technology has tremendous range, but the problem is in display technology. 8 bit technology just can't show what is found in the digital file.
 |
| Digital Slide Copier |
The argument that film has more dynamic range, is more rooted in the fact that the technology to present the dynamic range of digital isn't up to task. Frankly, I've seen the same problems of the film's dynamic range during the scanning of film into a digital format. No adjustments done during scanning results in a very flat dynamic range in the digital file.
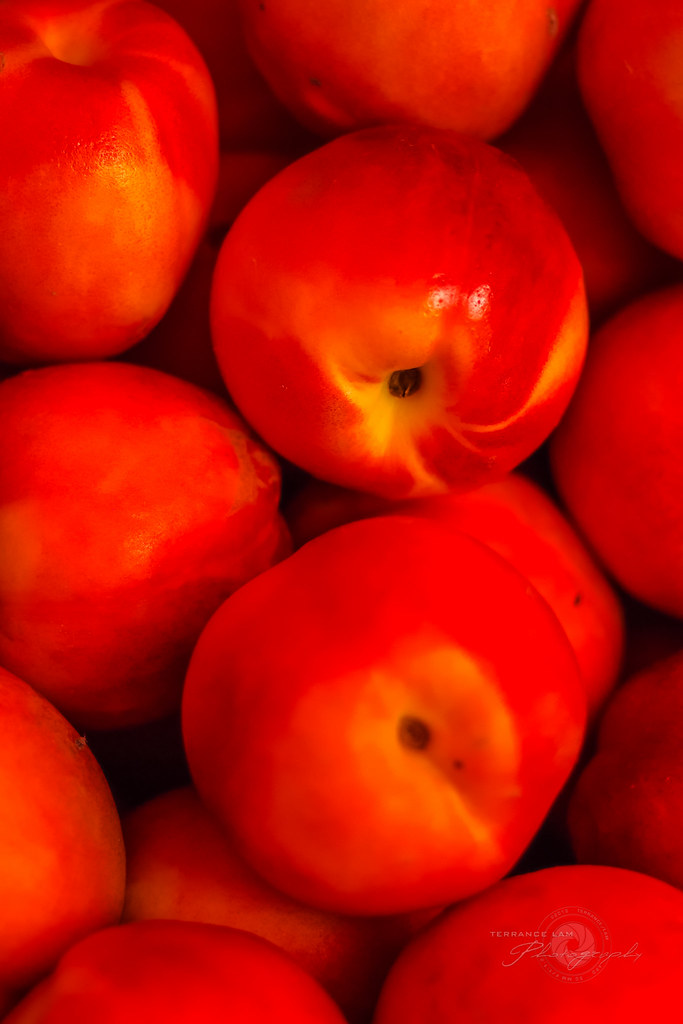 |
| Balancing the Rich Reds and Oranges |
I don't claim to be an expert with film by any stretch of the imagination, but I will agree that it seems that film has a 'look' that digital has a hard time simulating. For years I've been trying to figure out why? I make some assumptions, look for some theories behind it, and also experiment on my own, ways to simulate them. So my own epiphany came as a result of years of looking into this and looking at the various manufacturer charts for various films. The spectral sensitivity of each crystal had me intrigued, but I really didn't understand what it all meant. It came down to the fact that what I many if not all were trying to do was simulate not just the colour, 'feel', contrast, and clarity of a film, but it's dynamic range.
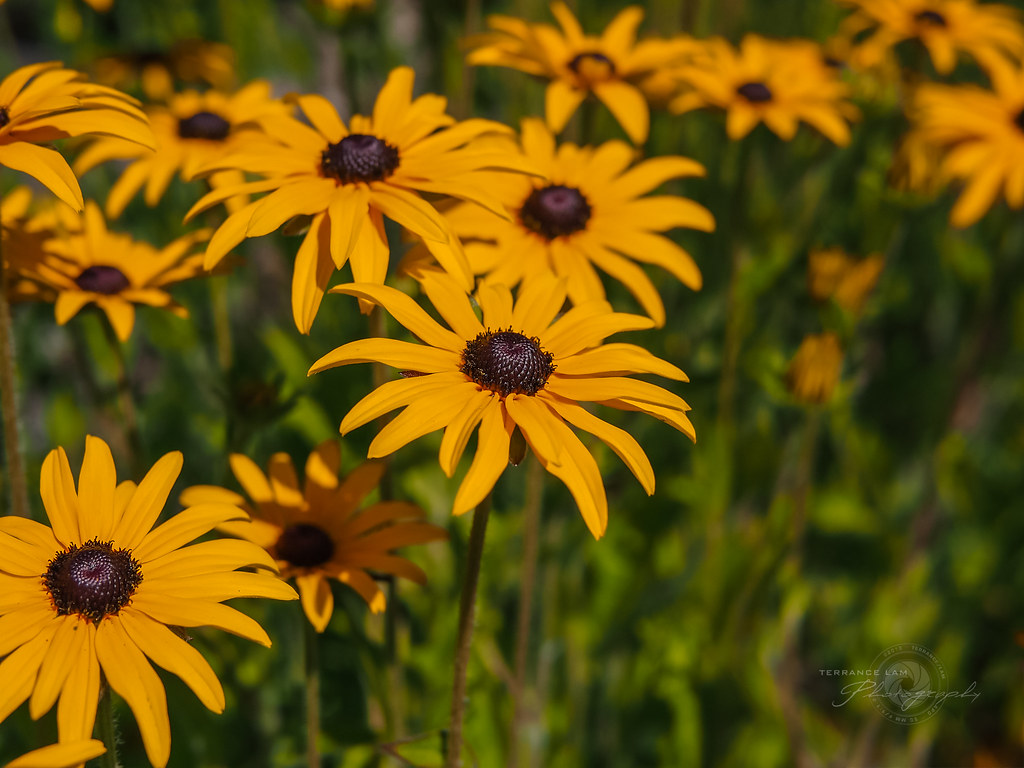 |
| Preserving shadows without it looking like HDR |
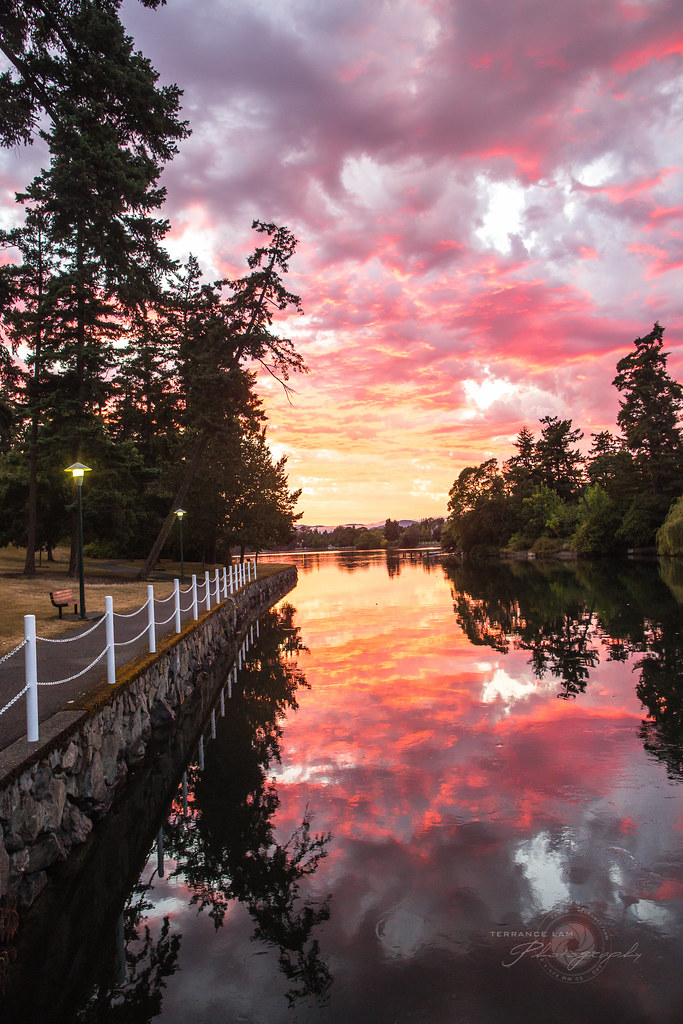 One of the other challenges I found in this exercise was balancing the colours after I adjusted for dynamic range. The most challenging of colours was reds and oranges. Another signature of Velvia is Reds can look Orange, Orange look Red, and Yellows look Green (this at least in Velvia F). Velvia RVP 100 is actually pretty accurate with those colours, but balancing Reds often mean that it affects other colours like pinks or even skin tones.
Now normally this film isn't a great film to use for portraits, but RVP does actually respond well enough to skin tone. So I also as a point of reference applied my preset to skin tones to see how it would react. After balancing that parameter and getting a satisfactory result, I returned to landscape images that were rich in red tones to see how it would work. By balancing between the two extremes I found a nice balance of tone compression to pleasing visible range of reds.
Once I got the range I was happy with. I applied it across 16 various images to see if one preset would work across all of them. I know, like different films, that there's no guarantee that it will all respond well to different shooting conditions. Velvia 100 for one would normally be shot under decent amount of light, not low light. But at the end, my presets only ever needed a couple of small tweaks after it was applied in mostly just exposure. In my 16, only about 2 or 3 really needed a little bit of an adjustment (they ended up slightly underexposed).
Last thing I did want to test was range of cameras. I think I have about 4 different camera images that I tested this preset on. They all responded as expected. Now the key is that they are all properly exposed to begin with but even if it is under or overexposed, you should be able to apply this preset with good results (you might need to apply some more noise reduction to your images).
For those of you who use Lightroom 4, you may download my preset here.
Also completely no obligation, if you feel like contributing a little donation to my efforts, I'd be happy to spend more time in producing other simulations in the future. You can use this paypal button to contribute for my efforts.
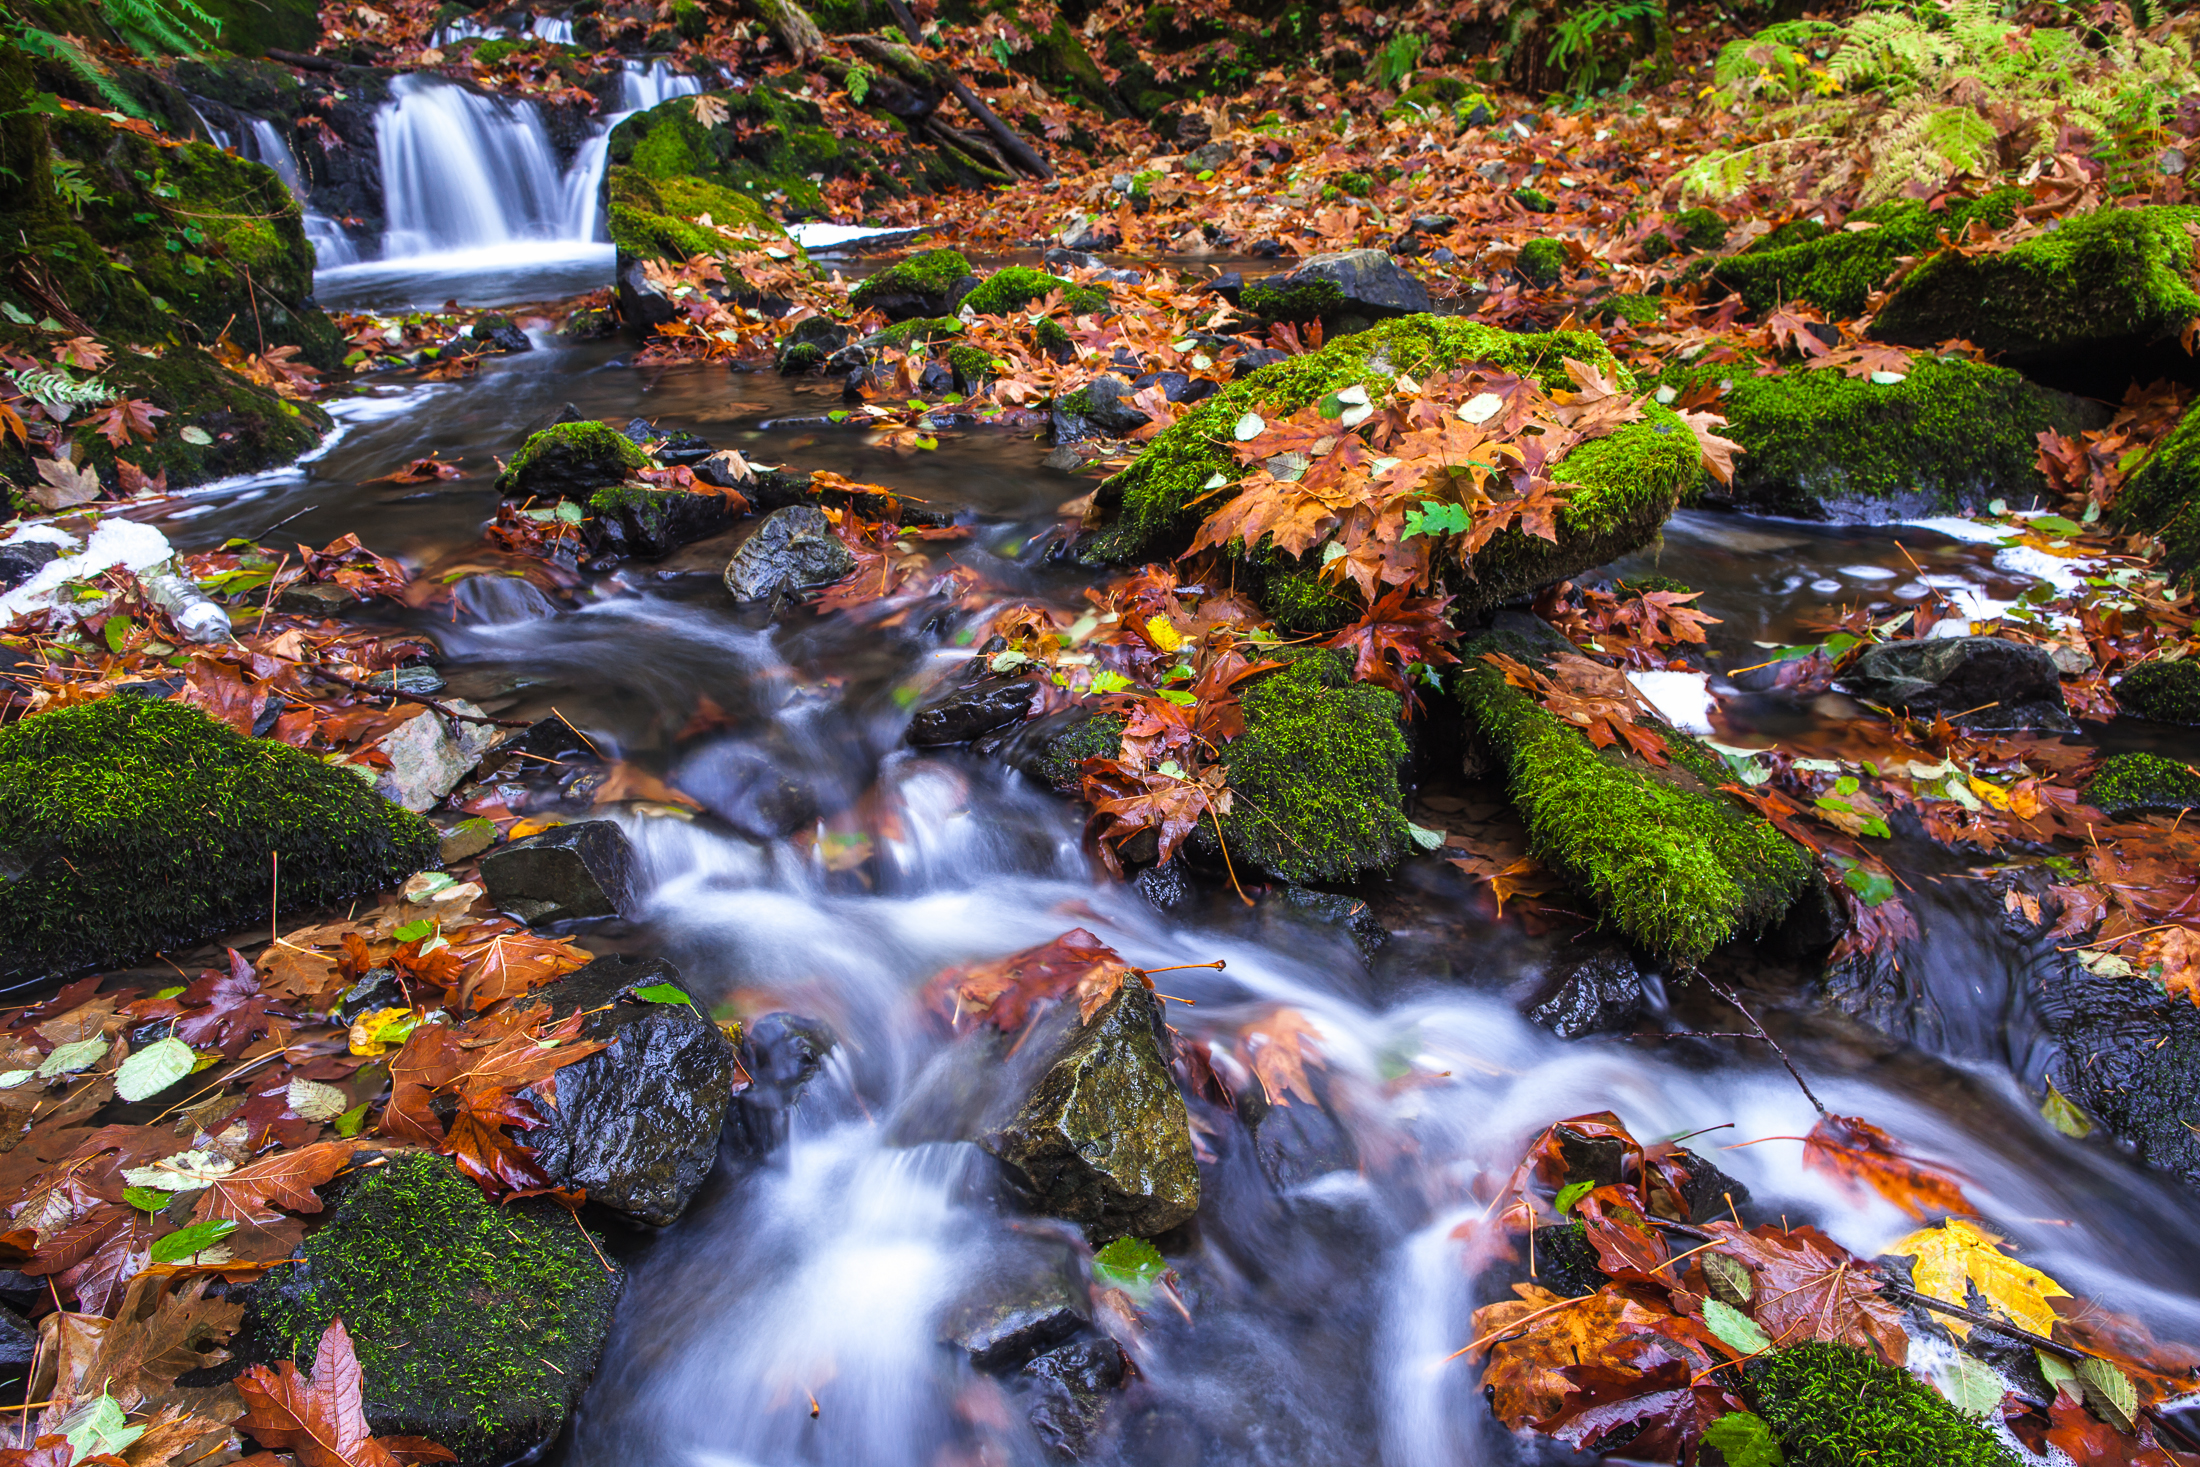
Is there any chance you will develop a preset for Capture one
ReplyDeleteMaybe... I've been spending a lot of time learning it. I'm going to likely put out a Panchromatic preset at some point once I feel it is developed enough. I am still on the fence a little on going completely over to Capture One, but for black and white conversion, I definitely prefer it.
DeleteI tried out the preset this morning. Very nice. Also adding my donation right now. Take care and thanks for all your efforts.
ReplyDeleteThank you very much for your donation. I will keep you informed as I develop more presets. Enjoy!
DeleteGorgeous processing. Thanks for sharing your inspiring work, your secrets and your preset, which I immediately downloaded. :)
ReplyDeleteThank you so much for your kind word and hope you enjoy it. I made sure to keep it toned down enough so that users can go in and make their own adjustments from it. Thank you so much for your donation and do enjoy.
DeleteI will be making more and publishing them here when they are completed.
And of course my donation, just made. Please donate!
ReplyDeletecan this preset be used for LR5?
ReplyDeleteStephen
Yes, it works great on LR5.
DeleteHi Terrance, what an awesome contribution to photography! Is the preset available in PS? Or LR only? Thank you
DeleteHi Joe, thanks for your kind comments. The preset only works in LR. The conversion over to PS (via camera RAW) is possible, but I've never taken the time to do that.
DeleteI will look into it as time allows for me, but I make no promises at this moment:) Thanks for for reading and commenting.